Account Settings
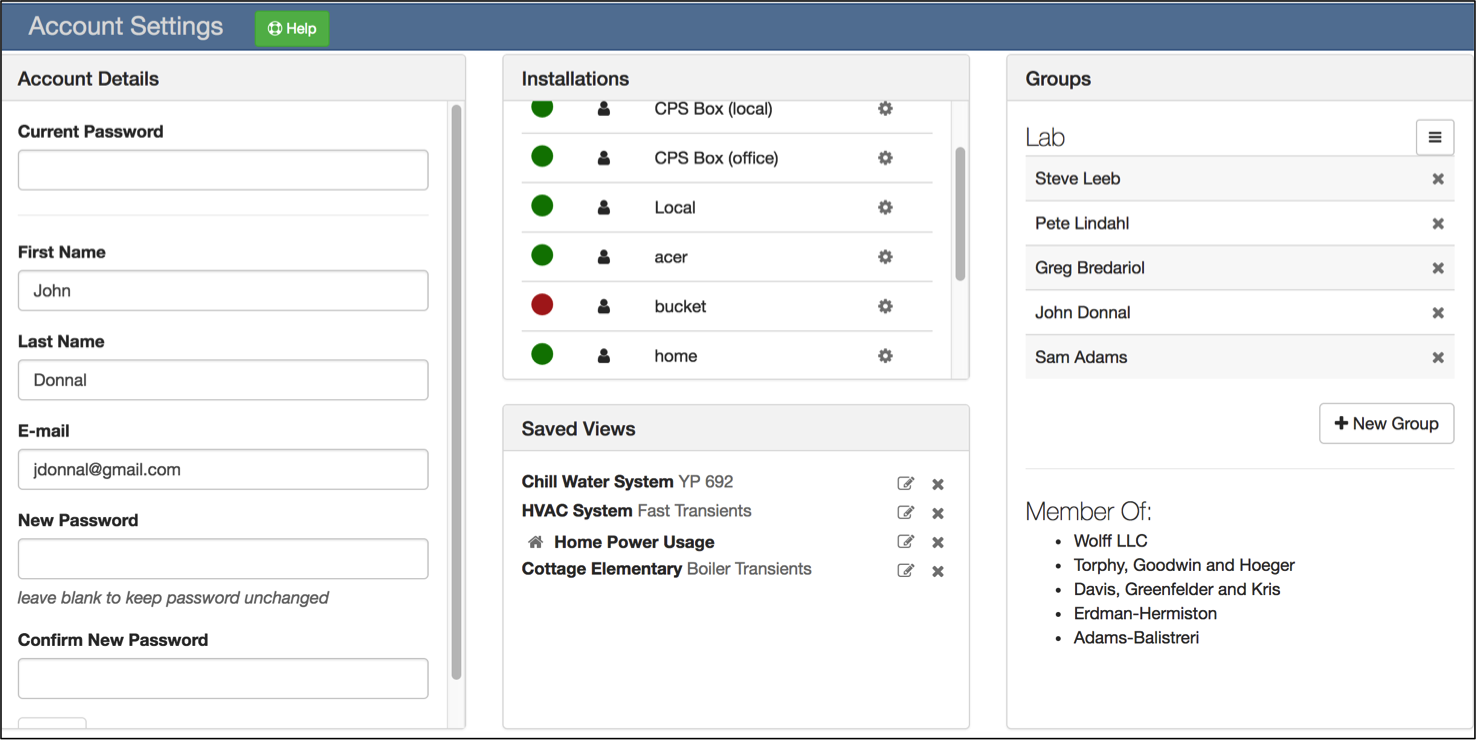
Access the Account Settings page by clicking the My Account button on the page header.
Account Details
The Account Details panel allows you to change your name, e-mail, and password. Any changes require you to enter your current password.
Installations
Installations are listed by row. Two status icons indicate whether the installation is online and your permission level. The icon legend is below:
| Icon | Description |
|---|---|
| Installation is online and accepting data queries | |
| Installation is offline (not available) | |
| You have administrative priveleges | |
| You have owner priveleges | |
| You have viewer priveleges |
Installations where you are an admin or owner have a button. Click this button open the Installation Settings page.
Add a new installation by clicking the New Installation button. This will display the Add New Installation Dialog shown below.
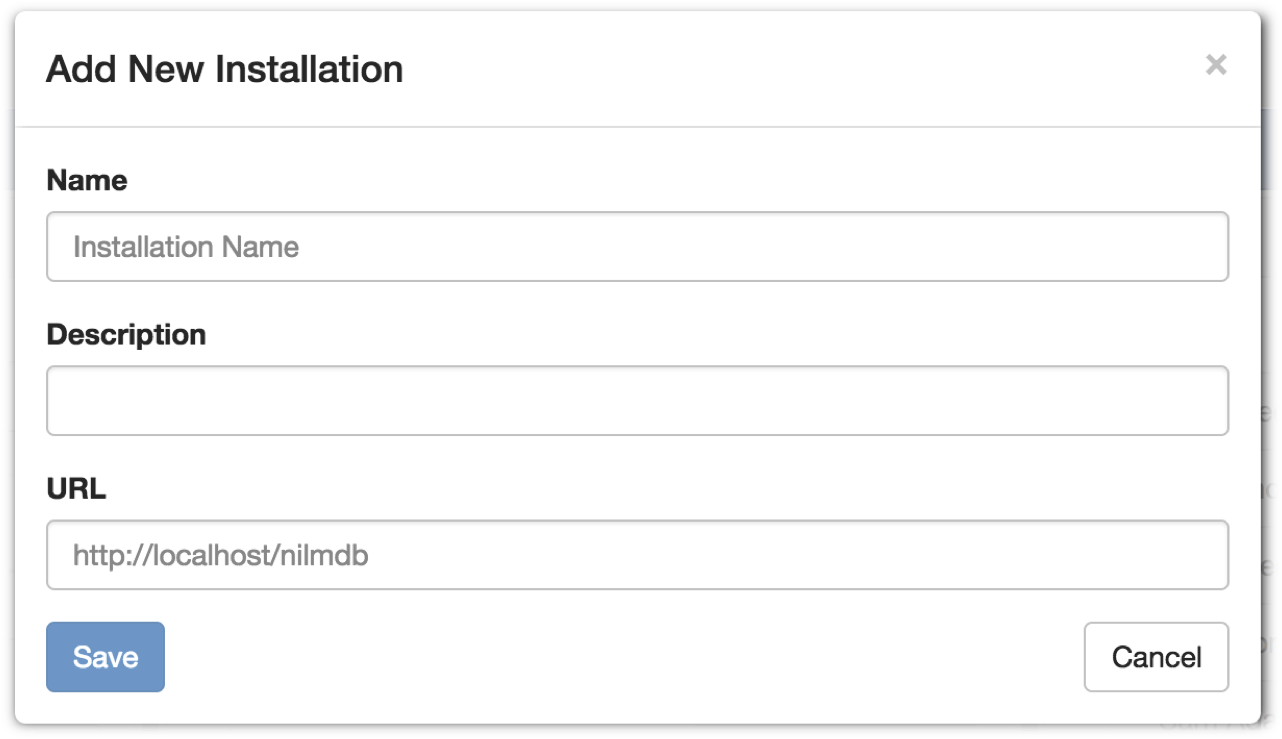
Enter a name, description, and the NilmDB url for the installation. After you click Save, the server scans the installation database which may take some time. Once the scan is complete the dialog will close and the installation will be added to your list. You are automatically assigned admin rights to the installation.
Saved Views
This panel lists your data views. Click the icon to delete a view. Click the icon to edit a view. This will open the Edit Saved View Dialog shown below:
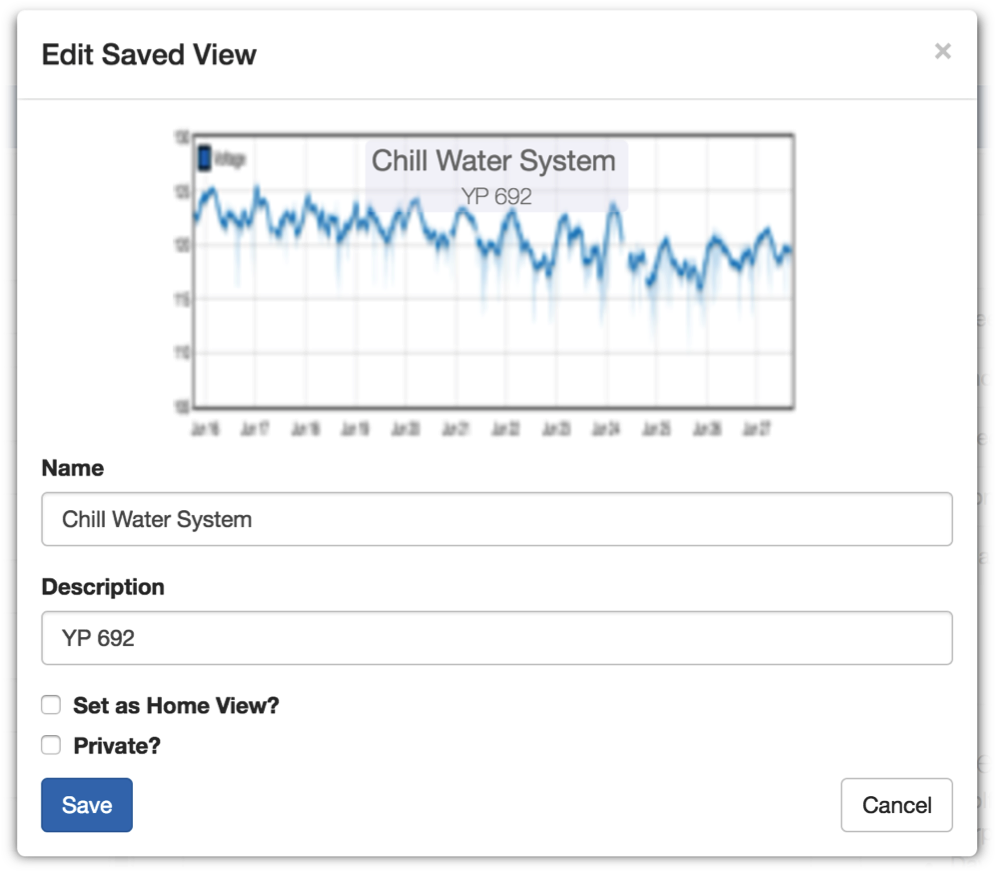
You may change the name, description and visibility of the view. You may not change the thumbnail or any of the data associated with the view.
If Set as Home View? is checked this view will load automatically when you open the web page. The home view is indicated by a icon next to the view name.
If Private? is checked the view will only be available to you. Otherwise it is available to any user with sufficient permissions on the associated installations.
Groups
Groups make it easier to manage installation permissions for a large number of users. This panel lists the groups you own. The icon next to group name opens up the group management menu. This menu allows you to edit the group, add members, or remove the group.
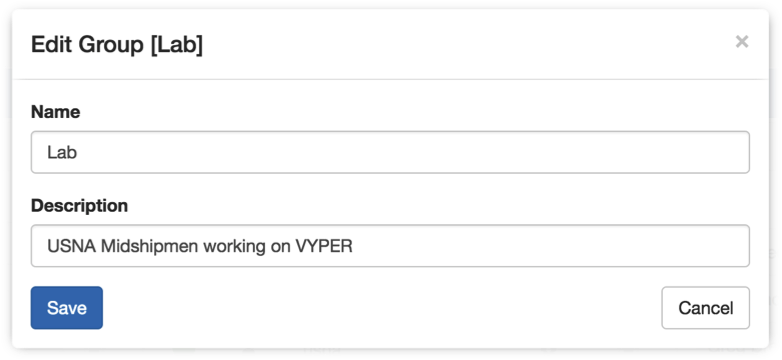
Edit Group
This dialog allows you to change the name and description of the group. The group name must be unique.
Add Users
This dialog allows you to add members to the group. You may add a member three different ways.
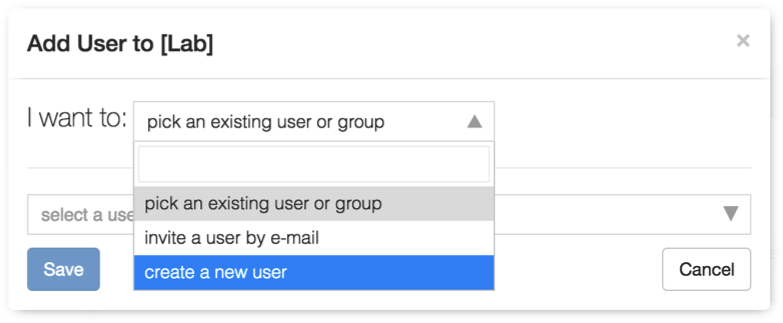
- pick an existing user or group: If the user already has an account you can select their name from a drop down list.
- invite a user by e-mail: If the user does not have an account you may send them an e-mail invitation. The user will not appear in the list until they have accepted the invitation and created an account.
- create a new user: Create a new account manually
Create a Group
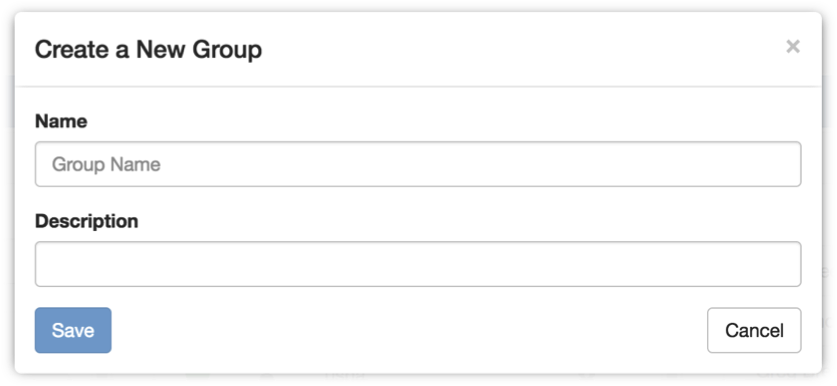
Click the New Group button to create a new group. Provide a name and description for the group and click Save. The group name must be unique.
Groups you are a member of are listed at the bottom of the panel. You may not edit groups that you do not own.
